
Great home renovation before after results do not come from one dramatic purchase. They come from the right order of decisions: understand what is not working, plan the finished experience, fix hidden issues and then choose the finishes that make the transformation visible.
For Dubai homeowners, that planning matters even more. Apartments, villas and townhouses often need better cooling flow, smarter storage, durable finishes and careful coordination with building rules or community management. A beautiful after photo is only successful if the space also feels easier to live in every day.
Use the tips below to turn your renovation from a surface refresh into a stunning, practical transformation.
Start with the after experience, not the demolition
Before choosing tiles, paint colors or cabinet handles, define what the after should solve. A renovation looks impressive when there is a clear contrast between the old problem and the new result. That contrast may be visual, functional or emotional.
For example, a dark living room can become a bright social space with layered lighting and lighter wall finishes. A cramped kitchen can become more useful without moving every service line if storage, worktop space and appliance placement are improved. A plain bedroom can feel custom and hotel-like with built-in wardrobes, soft lighting and a calmer palette.
A strong before and after plan usually answers three questions:
- What feels uncomfortable, outdated or inefficient now?
- What should the space help you do better after renovation?
- Which changes will create the biggest visible and practical difference?
| Before issue | Better after goal | Renovation move that helps |
|---|---|---|
| Dark or flat room | Brighter, warmer atmosphere | Layered lighting, lighter finishes and reflective accents |
| Cluttered kitchen | Cleaner work zones and easier storage | Cabinet redesign, internal organizers and better countertop planning |
| Empty corners | Useful storage or display | Custom joinery, floating shelves or built-in benches |
| Worn walls | Premium, finished look | Decorative paint, textured finishes, wall panels or feature cladding |
| Poor socket placement | Safer and more convenient daily use | Electrical layout upgrade before wall finishing |
| Awkward furniture flow | More open movement | Layout planning before purchasing new furniture |
This approach keeps the project focused. Instead of renovating everything equally, you invest in changes that people will immediately notice and that you will use every day.
Document the before condition properly
Before photos are not just for social media. They help you compare progress, brief your renovation team and make better decisions. Take photos before any furniture is moved or demolition begins, then capture the same angles after completion.
Use wide shots for each room, close-up photos of problem areas and detail photos of old finishes, cabinets, sockets, ceiling lights, plumbing fixtures and storage gaps. If a wall has cracks, damp marks or uneven paint, photograph it clearly. If a kitchen feels cramped, capture the worktop, sink, stove and fridge relationship in one frame.
Measurements are just as important. Record room dimensions, ceiling heights, door swings, window sizes and fixed service points such as drains, AC vents and electrical panels. This information helps avoid ideas that look good online but do not fit your actual home.
If you are planning a complete transformation, a structured full home renovation checklist can help you organize design decisions, approvals, materials and execution before work begins.
Prioritize layout before finishes
A fresh finish can make a room look new, but layout is what makes the after feel better. Many disappointing renovations happen because homeowners spend heavily on visible materials while keeping the same awkward flow.
In a living room, start by checking how people enter, sit, watch TV, access balconies and move to the dining area. In a kitchen, study the relationship between storage, preparation, cooking and washing. In bedrooms, confirm that wardrobes, bedside tables and circulation space work together comfortably.
Dubai homes often benefit from practical layout improvements such as larger storage walls, concealed laundry zones, better shoe storage near entrances and more usable balcony transitions. These changes may not look dramatic during construction, but they often create the biggest before and after improvement.
When reviewing layout options, ask your renovation team to explain what changes are cosmetic, what changes are structural and what changes affect plumbing, electrical work or approvals. Moving walls, wet areas and AC elements can increase complexity, so these decisions should be made early.
For a broader planning perspective, these home design and construction tips can help you think through lifestyle needs before finalizing the renovation scope.
Plan each room around one high-impact transformation
A stunning after result does not require every room to have a dramatic feature. In fact, too many statement elements can make a home feel busy. A better strategy is to give each room one main improvement that anchors the transformation.
Kitchen: upgrade the daily workflow
Kitchens deliver some of the most visible before and after results because they combine cabinets, countertops, lighting, appliances and hardware in one compact area. If the existing layout is functional, you may not need to move plumbing or electrical points. Refacing cabinets, changing handles, upgrading the countertop and improving task lighting can still create a high-end effect.
If the layout is not working, focus on workflow first. A beautiful kitchen becomes frustrating if the sink is too far from prep space, drawers are hard to access or lighting creates shadows on the countertop. For cost-conscious planning, these budget kitchen renovation tips show how targeted upgrades can create a premium look without unnecessary overbuilding.
Living room: create a finished focal point
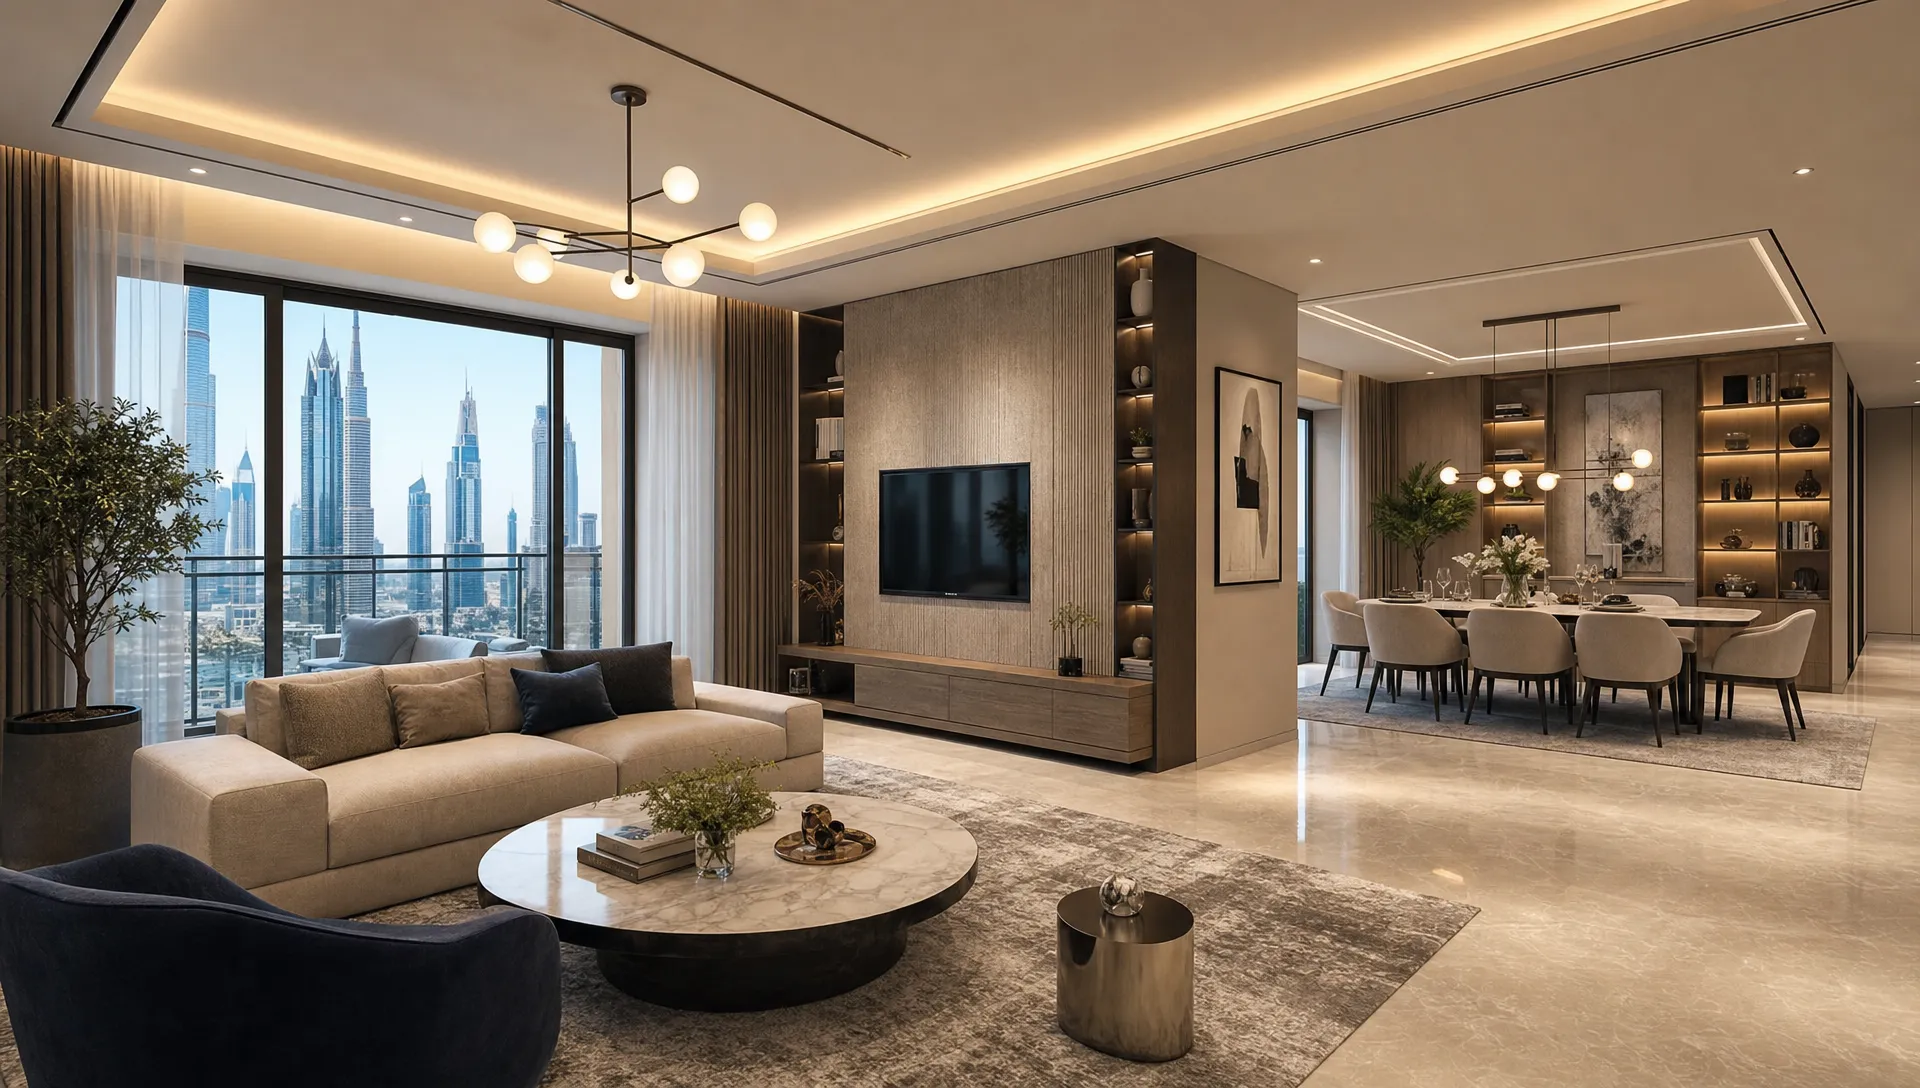
A living room often looks transformed when one wall becomes intentional. That could be a media wall with integrated storage, a textured feature wall, a refined paint finish or a balanced lighting design. The goal is not simply to decorate the room, but to make the space feel composed.
Pay attention to proportions. A TV wall that is too heavy can shrink the room, while a small feature panel on a large wall may look unfinished. Built-in joinery should also account for cable management, ventilation for electronics and future maintenance access.
Bedrooms: combine calm design with storage
Bedrooms need comfort more than drama. The strongest before and after changes usually come from wardrobe improvements, better bedside lighting, softer wall colors and concealed clutter. Built-in headboard panels, integrated shelves and full-height wardrobes can make the room look designed rather than assembled from separate pieces.
In smaller apartments, use vertical storage and lighter finishes to keep the space open. In larger villas, consider layered zones such as a reading corner, dressing area or makeup station, but only if the room still feels calm.
Bathrooms: make compact spaces feel refined
Bathroom renovations can produce dramatic results, but they also carry technical risk. Waterproofing, drainage slope, fixture placement and ventilation should be handled carefully before tiles are installed. A poor technical base can ruin even the best material selection.
For visual impact, use larger mirrors, warmer lighting, cleaner vanity storage and coordinated finishes. If the bathroom is small, avoid too many contrasting materials. A simple palette with one strong texture often looks more premium than a crowded mix.
Use lighting to reveal the transformation
Lighting is one of the most underrated before and after tools. A room can have expensive materials and still feel flat if the light is poor. The best renovations use layers: ambient lighting for general brightness, task lighting for work areas and accent lighting to highlight walls, shelves or textures.
In Dubai homes, where sunlight can be intense during the day, lighting should also support evenings. Warm, dimmable lighting can make open-plan spaces feel more relaxed after sunset. Under-cabinet lighting improves kitchen function, cove lighting softens living rooms and focused wall lights can bring out decorative finishes.
Do not leave lighting decisions until the end. Electrical points, switch positions and ceiling details must be coordinated before walls and ceilings are closed. This is where early planning prevents visible compromises later.
Choose finishes that photograph well and age well
The after photo should look beautiful on completion, but the materials also need to perform in daily life. In busy homes, finishes should be durable, cleanable and appropriate for the room.
Matte wall paints can look elegant, but high-touch areas may need more washable finishes. Glossy surfaces can brighten a space, but too much shine may highlight fingerprints or scratches. Natural-looking textures can add warmth, but they should be installed with clean detailing so the result feels refined.
A simple way to choose finishes is to balance three layers: a quiet base, one feature texture and a small number of accent details. For example, a living room might use warm off-white walls, a stone-look or fluted feature panel and brushed metal hardware. A kitchen might use neutral cabinets, a durable countertop and slim black or brass handles.
| Finish decision | What it changes visually | What to check before approval |
|---|---|---|
| Wall color | Brightness, mood and perceived room size | Test samples in morning and evening light |
| Flooring | Continuity and sense of space | Slip resistance, maintenance and transitions |
| Cabinet finish | Kitchen or wardrobe character | Fingerprint resistance and edge quality |
| Hardware | Perceived quality of cabinets | Grip comfort, finish durability and alignment |
| Wall paneling | Depth and premium detail | Proportion, joint lines and cleaning needs |
| Countertops | Kitchen and bathroom impact | Stain resistance, thickness and edge profile |
If you want a premium look without overspending, focus on highly visible touchpoints such as lighting, paint quality, cabinet fronts, handles, mirrors and wall finishes. This is often more effective than spreading the budget thinly across upgrades nobody notices.
Do not ignore hidden systems
The most impressive home renovation before after transformations are supported by work you may never see in the final photo. Electrical, plumbing, waterproofing and AC coordination determine how well the home performs after the renovation.
Old wiring may not support modern appliances, additional lighting or smart controls. Plumbing may need upgrades before bathroom or kitchen finishes are installed. AC vents and returns should work with new ceiling designs and partitions, not against them. If these items are skipped, the after may look polished but feel inconvenient or require repairs soon after handover.
Before closing walls or ceilings, ask for checks on key systems and make sure access panels are planned where future maintenance may be needed. A clean finish should not make essential services impossible to reach.
This is also where professional project management helps. Sequencing matters: demolition, rough-in works, testing, waterproofing, ceiling work, flooring, carpentry, painting and final fixtures need to happen in the right order. Rushing this sequence can create defects that are expensive to correct.
Budget for visible impact and long-term value
A renovation budget should not be based only on what looks exciting. It should separate must-fix items, high-impact design choices and optional upgrades. This gives you flexibility if prices change or if hidden issues appear during demolition.
Spend first on structural safety, waterproofing, electrical upgrades, plumbing and layout decisions. Then prioritize visible features that shape the final impression: lighting, walls, flooring, kitchen fronts, bathroom vanities and custom carpentry. Leave decorative accessories, loose furniture and nonessential add-ons for the final stage.
A staged approach can still produce a strong before and after result. For example, renovating the kitchen, living room and entryway first may change how the entire home feels, even if bedrooms are completed later. If budget is tight, consider refinishing existing elements instead of replacing everything. Cabinet repainting, hardware upgrades, wall finishes and improved lighting can create a major visual shift.
For more ideas on making smart upgrades look elevated, explore these budget home renovation ideas before finalizing your scope.
For business renovations, connect the after to operations
Revo Craft Renovations also works with business spaces, where before and after results should support more than appearance. A renovated office, showroom or client-facing space should improve staff workflow, customer experience and brand perception.
If a sales or client success team will use the space, plan meeting rooms, phone-friendly areas, storage, presentation walls and cable access before choosing finishes. Businesses that rely on digital tools, CRM systems or an AI-powered B2B prospecting platform should think about how the physical environment supports calls, meetings and follow-up workflows. The after should make the team look professional and help them work smoothly.
For commercial interiors, durability matters as much as style. High-traffic flooring, washable wall finishes, practical lighting and well-planned electrical points can keep the space looking fresh long after the first after photos are taken.
Make the final reveal honest and effective
The after photos should show the real value of the renovation. Styling helps, but it should not hide how the space functions. Clean the room thoroughly, remove construction dust, use soft natural light where possible and photograph from the same angles used in the before shots.
Keep styling restrained. A few plants, cushions, books or table accents can make a space feel lived in, but too many props distract from the renovation itself. For kitchens and bathrooms, clear countertops and show storage solutions only when they add to the story.
Good before and after photography highlights contrast. If an old kitchen was dark, show how lighting and finishes made it brighter. If a bedroom lacked storage, open a wardrobe or capture the built-in solution. If the living room felt unfinished, show the new focal wall, lighting and furniture flow together.
Common mistakes that weaken before and after results
Even with a healthy budget, a renovation can fall short if planning is rushed. Watch for these common mistakes before work begins:
- Choosing finishes before solving layout problems
- Copying inspiration photos without checking dimensions
- Underestimating storage needs in kitchens, entries and bedrooms
- Leaving lighting, switches and sockets until late in the project
- Ignoring plumbing, waterproofing or electrical upgrades
- Mixing too many feature materials in one room
- Selecting the cheapest quote without checking scope clarity
- Photographing the after from different angles than the before
The best results come from consistency. Every decision should support the same design direction, from wall finishes and lighting temperature to cabinet profiles and hardware color.
A simple before and after planning checklist
Use this checklist before approving the final renovation scope. It helps you confirm that the transformation will be visible, functional and realistic.
| Planning step | Why it matters |
|---|---|
| Define the main problem in each room | Keeps the project focused on real improvements |
| Take before photos and measurements | Creates a clear reference for planning and comparison |
| Confirm layout changes first | Prevents expensive finish changes later |
| Review electrical and plumbing needs | Supports safety, convenience and long-term performance |
| Select a consistent finish palette | Makes the after feel cohesive and premium |
| Plan lighting early | Allows ceiling, wiring and switch positions to work together |
| Approve materials before execution | Reduces delays and last-minute substitutions |
| Photograph the after from matching angles | Shows the transformation clearly and honestly |
Frequently Asked Questions
What makes a home renovation before after result look stunning? A strong result usually combines better layout, improved lighting, fresh finishes, useful storage and clean detailing. The transformation should solve the original problems, not just make the room look newer.
Should I renovate the whole home at once or room by room? It depends on your budget, timeline and how much disruption you can handle. Whole-home renovation creates better design consistency, while room-by-room renovation can be easier to manage financially. Technical work such as electrical and plumbing should still be planned with the full home in mind.
Which renovation changes create the biggest visual difference? Lighting, wall finishes, flooring, kitchen cabinets, bathroom vanities and custom joinery often create the strongest visible impact. In many Dubai homes, storage upgrades also make the after feel significantly cleaner and more spacious.
How do I avoid overspending on a renovation? Start with a clear scope, separate must-have work from optional upgrades and keep the existing layout where it still functions well. Spend on hidden systems first, then invest in visible details that affect daily use and overall appearance.
Why should before photos be taken before renovation starts? Before photos help document the original condition, guide design decisions and make the final transformation easier to appreciate. They are also useful when discussing issues with your renovation team during the project.
Ready to create a stronger before and after transformation?
A stunning renovation is planned before it is built. If you want a home or business space in Dubai that looks refined, functions better and feels tailored to your lifestyle, Revo Craft Renovations can help with design consultations, kitchen remodeling, interior upgrades, wall finishing, electrical and plumbing upgrades, custom carpentry and project management.
To start planning your transformation, visit Revo Craft Renovations and discuss the before, the after and the best path between them.